Creating a Flutterwave account
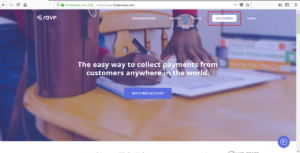
1) Kindly visit the homepage dashboard.flutterwave.com and navigate to GET STARTED.

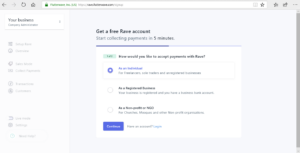
2) Select the Individual, Business or NGO account as applicable and fill in your details accordingly.

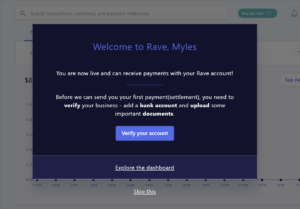
3) On completing your application, you will be redirected to the homepage where you will see a pop-up welcoming you to Flutterwave.

By default, you can receive payments into Flutterwave once you create an account. However, you will need to set your bank account details for your settlement to be made from your Flutterwave account to your bank account. (Check “How settlements are made” for more information.)
4) It is advisable for you to add your bank account details immediately so that you can receive your funds in your bank account. You can, however, skip this and go straight to the dashboard.
That’s it, you’re set to start receiving payments!
You can follow these links for more information on how to receive payments or how to manage your bank accounts.
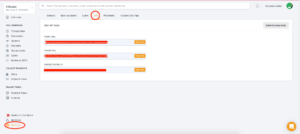
Once you signup successfully, now login into your account and navigate to Settings->API section as shown in image below
Now copy Public Key and add into Admin Panel’s payment page to Flutterwave link

