Step 1: Install Node.js
Angular bases its build environments on Node.js, and many of its features depend on NMP packages. Conveniently, the Node Package Manager (NPM) client is part of the default Node.js package.
To install Node.js:
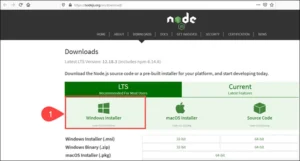
1. Visit the official Node.js page and download the latest Node.js Windows Installer.
2. Access the download location and double-click the Windows Installer Package.
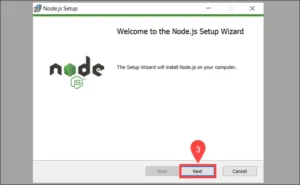
3. Select Next on the initial Node.js Setup Wizard screen.
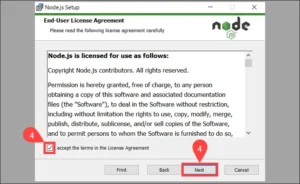
4. Accept the License Agreement and click Next.
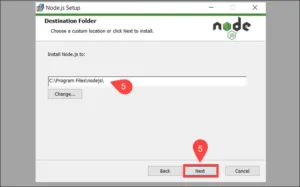
5. Define the destination folder for the installation and select Next.
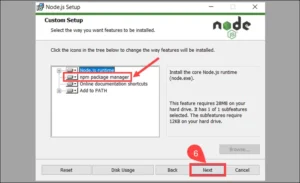
6. You can customize how to install available features. Make sure that the npm package manager is part of the installation bundle. Click Next to proceed.
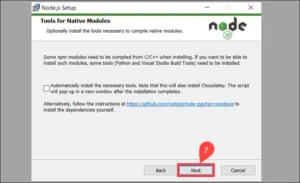
7. Check the box if you would like to install tools for compiling native modules automatically. They are not mandatory and require an additional 3 GB of space. Select Next to continue.
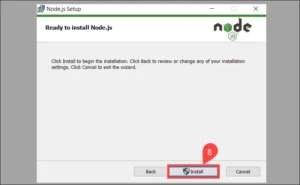
8. Click Install to start the installation process.
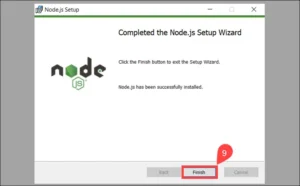
9. Once the installation is complete, select Finish to exit the Setup Wizard.
10. Access the Windows Command Prompt (or PowerShell) and check the Node.js version:
node -v
The system confirms that Node.js v12.18.3 is installed.
