PayPal is an online payments system that supports online money transfers and serves as an electronic alternative to traditional paper methods like checks and money orders
in this app we have used PayPal for accepting payments. for accepting payment from Paypal we need PayPal Applications
To create a Paypal App, go and visit: https://developer.paypal.com/developer/applications
Important: To use the live PayPal app, your app must be approved by PayPal. Read PayPal app review submission steps here
You need to be logged in to your PayPal account to be able to access their developer page. So first, log in to your PayPal account and then follow the link above to get to their developer page. This should look similar to the one shown in the image below:

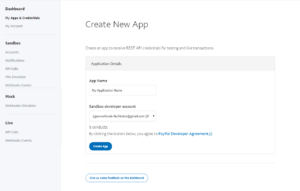
When you click on “Create a App”, A new window will pop up (see image below). Enter a App name and Sandbox developer account. Now Click on Create App.

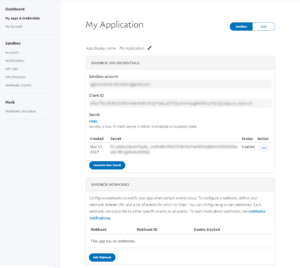
By clicking on Create App, it will redirect you to the settings page for your new PayPal App. the page will look like as mentioned in the image below:

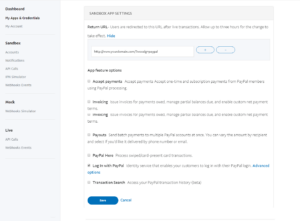
Important: Use the “Return URI” field same as the Paypal Callback URL mentioned on the social login setting page. If these entries do not completely match the URL of your website, the application won’t work.
Underneath the “App feature options” First, uncheck “Accept Payments”, “Invoicing”, “Payouts” and keep only “Log In with PayPal” as checked.

Now, Copy the Client ID And Client Secret(See image below).

Important: When you copy and paste all the needed IDs and Keys, make sure, that you don’t have any empty spaces, either at the beginning or at the end of these entries. If you have any empty spaces, then the Application won’t work and will show an error message when you try to connect to the App.
