The Laravel structure has a couple of framework prerequisites. These prerequisites are fulfilled by the Laravel Homestead virtual machine, so it’s strongly suggested that you use Homestead as your local Laravel environment.
Nonetheless, in case you are not utilizing Homestead, you should ensure your server meets the accompanying necessities:
- PHP >= 7.4
- BCMath PHP Extension
- CType PHP Extension
- JSON PHP Extension
- Mbstring PHP Extension
- OpenSSL PHP Extension
- PDO PHP Extension
- Tokenizer PHP Extension
- XML PHP Extension
- Allow URL F-Open
- PHP EXIF PHP Extension
From Where to Begin?
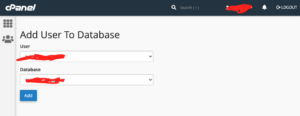
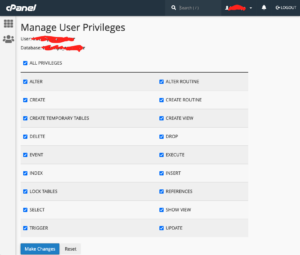
Step 6 :
Now, Compress a ZIP file of the API folder, and Upload ZIP to the public_html directory on your server, then extract the API.ZIP on the server, extracted files would appear all laravel source code files. move all the codes on the root of public_html.
You need to grant the directory permissions 775 to the respective directories below.
- public_html/bootstrap/cache/
- public_html/storage/framework/
- public_html/storage/logs/
Now you just need to enter your website domain name like https://yourdomain.com/public/install in any browser and an installation wizard would automatically pop up on the screen. like on the screenshot below.
Click the Check Requirements Button.
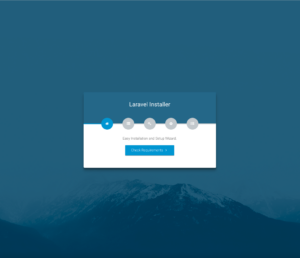
Click on Check Permission Button.
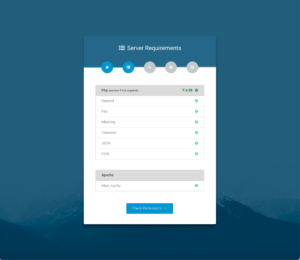
Check whether you have modified permission.
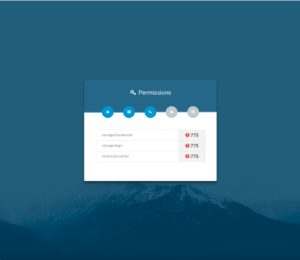
If you got the above permission error while setup the API. please add 775 permission on API
- public_html/bootstrap/cache/
- public_html/storage/framework/
- public_html/storage/logs/
Then reload the page you will see below output
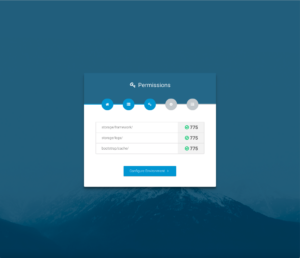
Now Click On Form Wizard Setup
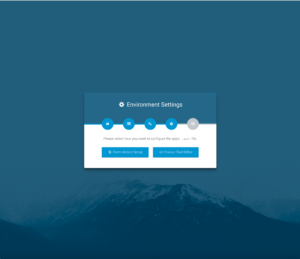
On App, Name Field add your APP Name, Then Select App Environment as Productions, after it clicks on Select Database Button
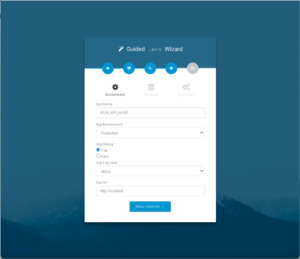
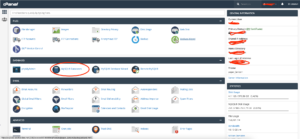
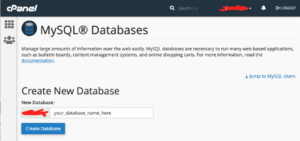
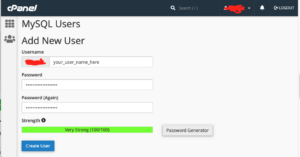
Here Enter your database details as we discuss early in this post. and click on Setup Database.
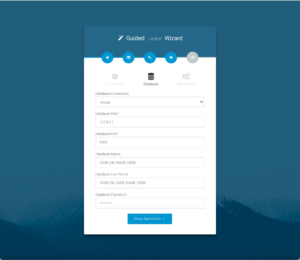
Make sure you have entered a valid database name, username, and password. then click on the install button.
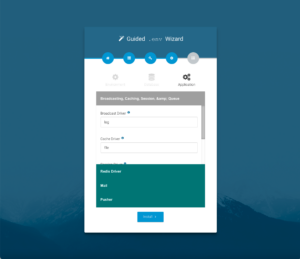
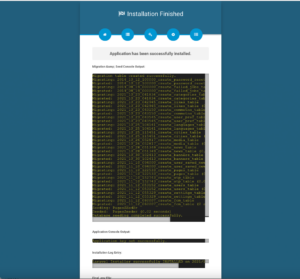
If you received this kind of success message then your API setup has been successful.
