To send push notifications to your users with Ionic and Capacitor you don’t need a specific service, but you need to configure a bunch of things up front to make it work.
In this tutorial, we will integrate Push Notifications using Firebase, since Firebase is basically required for Android anyway and you can easily use it to send our notifications, even without using the database at all!
Firebase Configuration
Get started by creating a new Firebase project or use an existing project that you already created for your app.
Simply specify a name and the default options to get started with a new project.
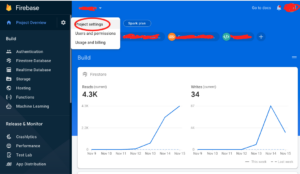
If you have a blank new app you should now see “Get started by adding Firebase to your app” in the dashboard of your app, otherwise, you can also simply click the gear icon and move to the project settings from where you can also add an app.
The dialog looks basically the same for both iOS and Android like in the image below, and the only important thing here is to use your package id for the apps!
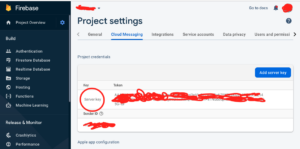
Get Firebase Server KEY
In order to send a notification, we need the firebase server key to be set up on our owner / Admin Open.
To Get Firebase Server Key Go to the Firebase Console and click the Settings Icon On Top Of Console And Click On Project Settings
Now Click on Cloud Messaging Tabs.
Copy The Server Key And Follow Steps
Open Owner / Admin App Go To Profile Section On the bottom of the tab bar
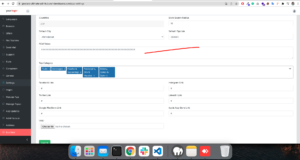
Now Click On Settings on And On the bottom of settings page add FCM TOKEN with Firebase Server Key
Android
-
Your Android package name should match the appId from your
capacitor.config.jsonfile -
We used
com.mydomain.myappnamefor this Capacitor app ID, so that is what we’ll use for this entry. -
Nickname and Debug Signing Certificate are optional
google-services.jsonfilegoogle-services.json file. This file contains the information your Capacitor app needs to connect to Firebase from Android.google-services.json file to your local machine. Then move the file into your Capacitor Android project directory, specifically under android/app/.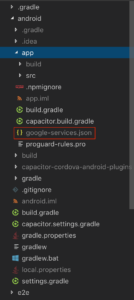
firebase-messaging in it’s build.gradle file.iOS
Prerequisites
-
1.
Setup the proper Development or Production certificates & provisioning profiles for your iOS application in the Apple Developer Portal -
2.
Create an APNS certificate or key for either Development or Production in the Apple Developer Portal -
3.
Ensure Push Notification capabilities have been enabled in your application in Xcode -
4.
-
Your iOS bundle ID should match the appId from your
capacitor.config.jsonfile -
We used
com.mydomain.myappnamefor this Capacitor app ID, so that is what we’ll use for this entry. -
App Nickname and App Store ID are optional
GoogleService-Info.plistfile to your iOS appGoogleService-Info.plist provided to your local machine.npx cap open ios
.plist file into your Xcode project as instructed by Firebase, ensuring to add it to all targets.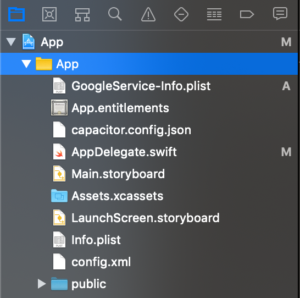
Podfile, which can be found in Xcode under Pods: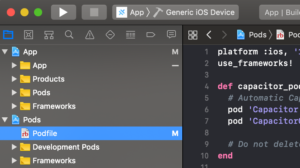
pod Firebase/Messaging to your target 'App' section, like so: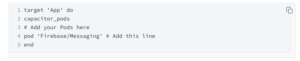
Podfile should look something like this: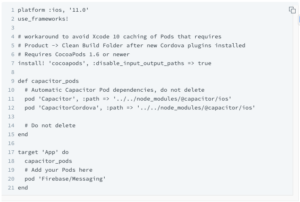
Update the Project
Add Initialization Code
AppDelegate.swift file.import at the top of the file:AppDelegate.swift file, in the application(didFinishLaunchingWithOptions) method.AppDelegate.swift the file should look something like this: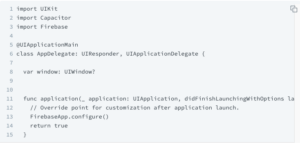
Upload the APNS Certificate or Key to Firebase
-
1.
Click on your iOS application and then the Settings gear icon. -
2.
On the Settings page, click on the Cloud Messaging tab. -
3.
Under the iOS app configuration header, upload your Auth Key or Certificate(s) using the provided Upload button.